One of the first things that a careful builder notices about the venerated 1964 Monogram Predicta kit is that the kit body doesn’t match the photos of the car. Though the model generally resembles Darryl’s car, several fundamental proportional and measurement errors mar the kit. Without access to the construction phase and later photos, even a highly-motivated vintage or contemporary builder — wanting to build an accurate scale model — wouldn’t have enough information to catch and correct the dimensional errors in the original kit and certainly couldn’t build such an authentic scale miniature from the kit.
However, here at the headquarters of The Predicta Project, we understand where the problems are in the kit. The dozens of photos we have, combined with digital photo analysis and Starbird’s generously-supplied measurements, have revealed precisely where the errors occurred in the original kit. Darryl’s generously-provided key measurements have permitted us to exactly locate where the dimensions and shapes in the original hobby kit body were in error. On a technical level, these actual measurements have helped us avoid the parallax problem of relying only upon what appear to be profile images but which aren’t true profile images because they were shot with a single camera at one fixed location.
With extensive data in hand, I’m going to master a correct 1/24-scale Predicta body for the car so that we can build our phantom-enhanced 1964-era kit that will permit us to step out and build the rest of the models for this project. The revised/corrected master body and other parts will be resin kits by Norm Veber.
We, at the Predicta Project, express our profound thanks to Starbird who has graciously provided the dimensional information taken directly from the car, and to Steve Roullier for creating the “measurement photos” that graphically illustrate the differences between the kit and the car. What follows is a photo essay list of the most prominent dimensional problems with the kit. As work starts on creating an accurate 1/24 scale body, we’ll feature here photos about the process of constructing an accurate body shell and other related parts.


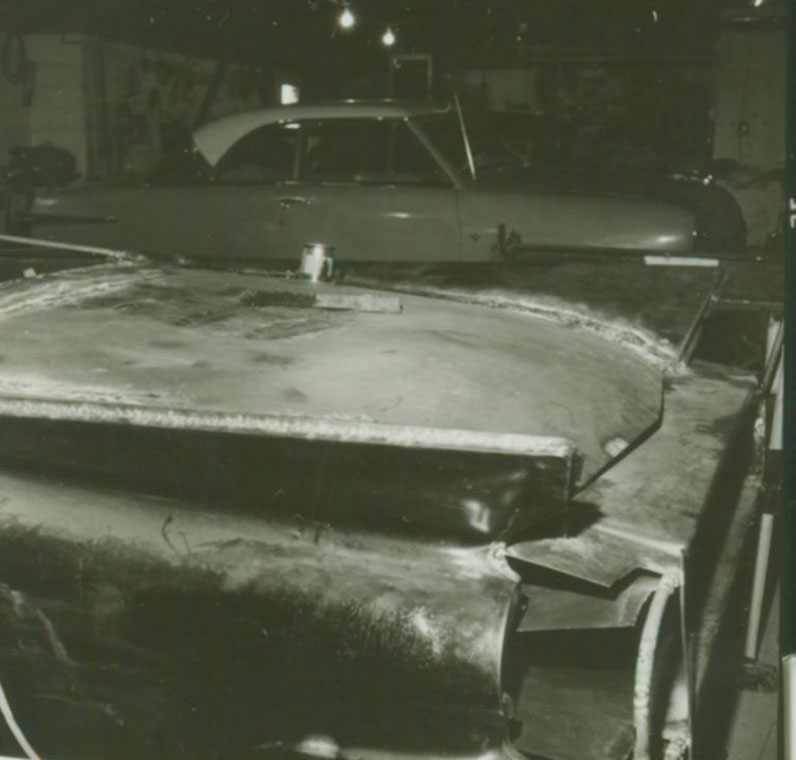
Rear Deck/Rear Grille:


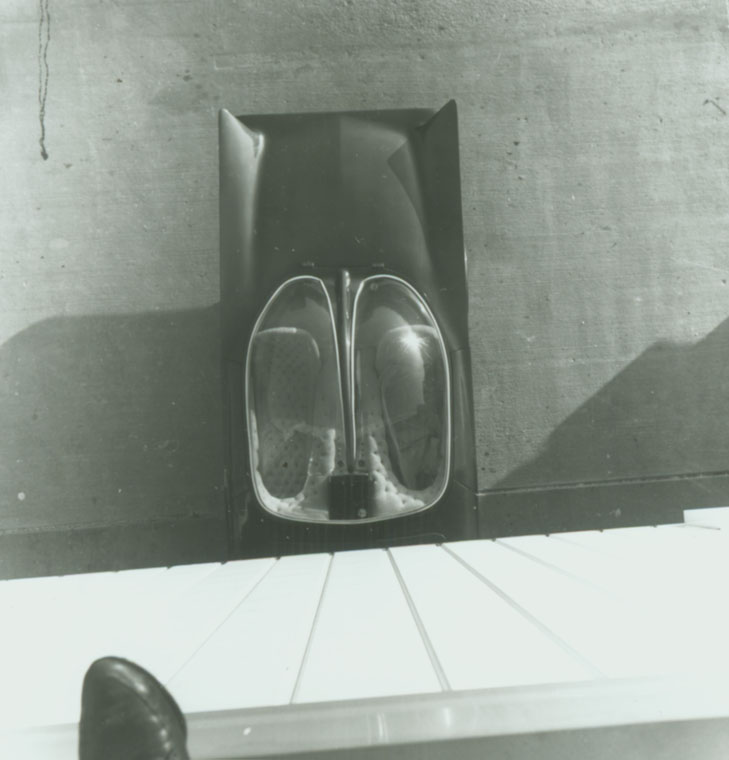

Rear Quarter Panel:

The distance between the rearward most tip of the fin to the base of the bubble (not the bubble ring) should be 2.05″ in 1/24 scale but is, in fact, 1.810″ on the model which corresponds to 43.44″ and it should be 49″ in full scale. This supports our view that the entire bubble top assembly is set much too far rearward on the body.
Bubble Top: Mark Benton has also pointed out that the bubble top sits too far rearward on the model.
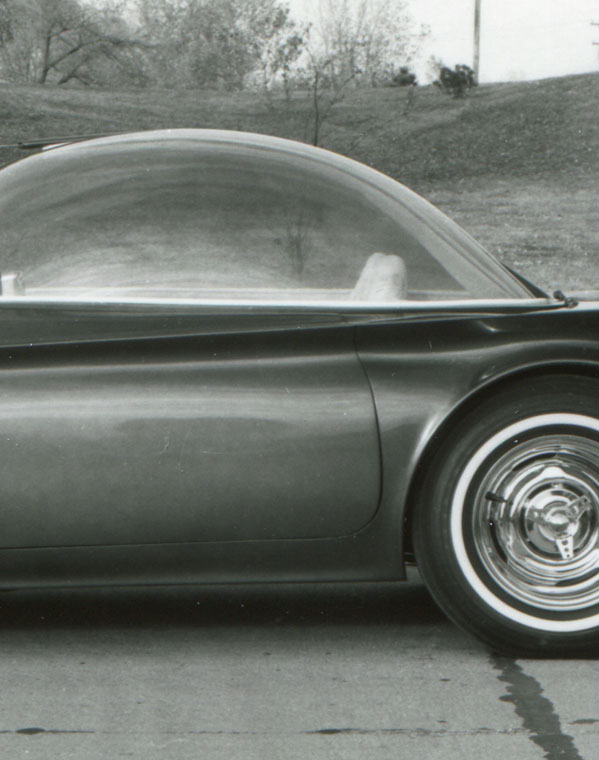
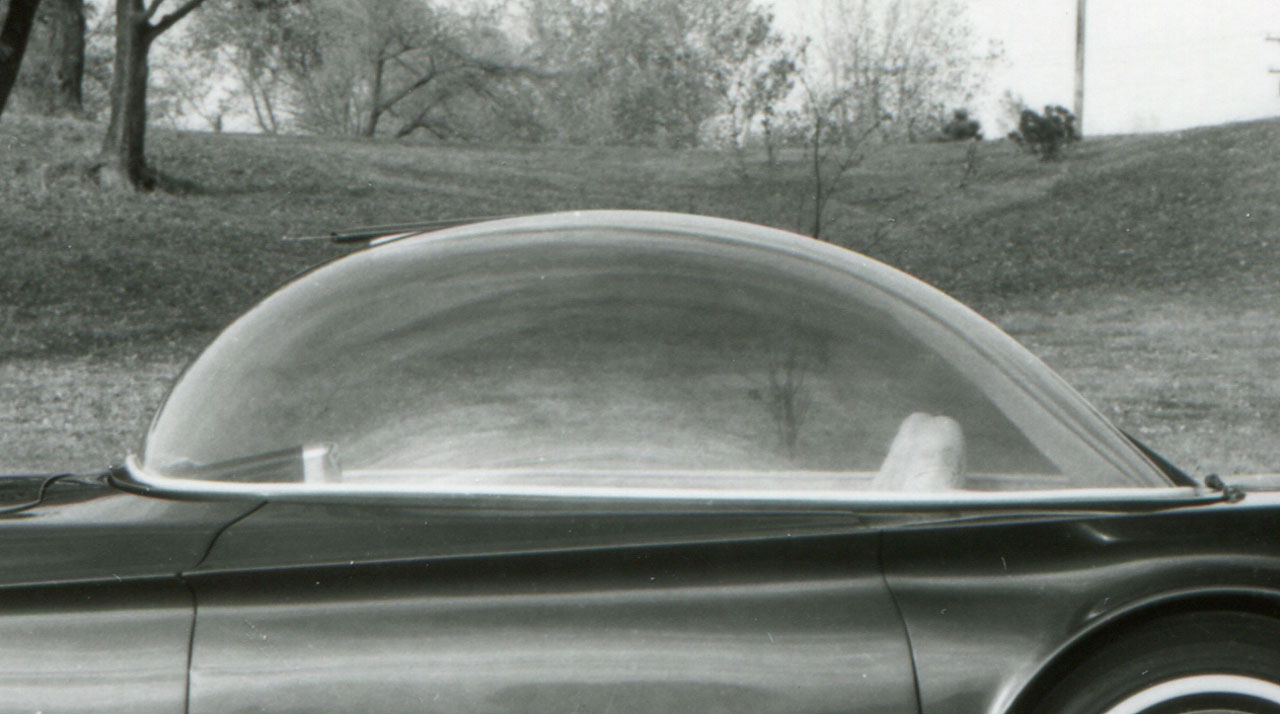
The bubble top also isn’t quite wide enough: It should 54″ at its widest part but is only 52.80 for a difference of .05 in scale. The final problem with the bubble top is that the kit piece if too tall. Darryl advises that the bubble top, at its tallest, is 16″ but the kit part presents a bubble that is 18.72″ These two dimensional problems mean that we’ll be making a new bubble top!
Side of Body:
The incut character line on the side of the body (at the base of the fins) isn’t deep enough, and is located too high in the body. The deeply radiused, front-to-back, incut needs to be moved lower and incut more deeply into the body.


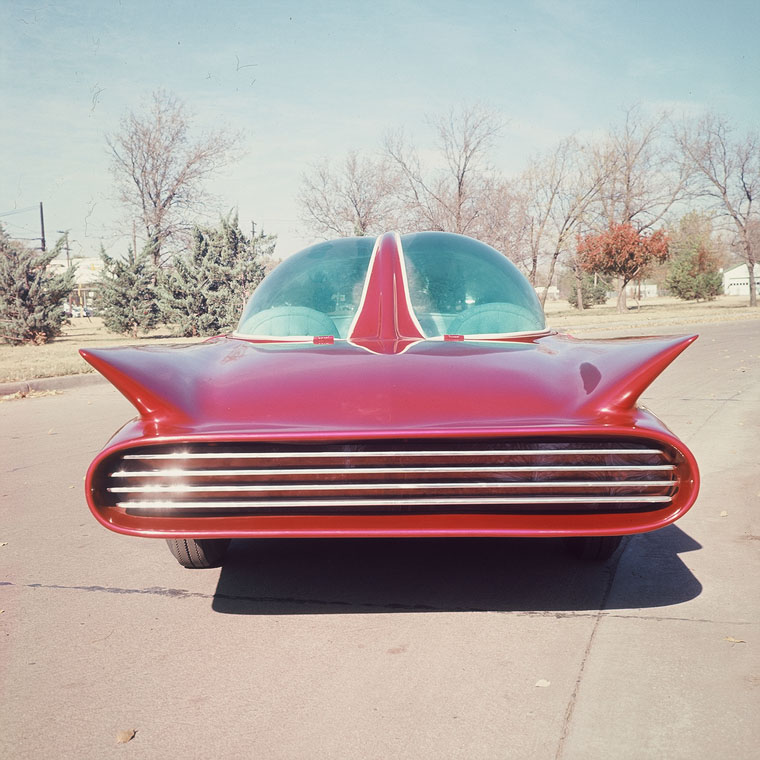
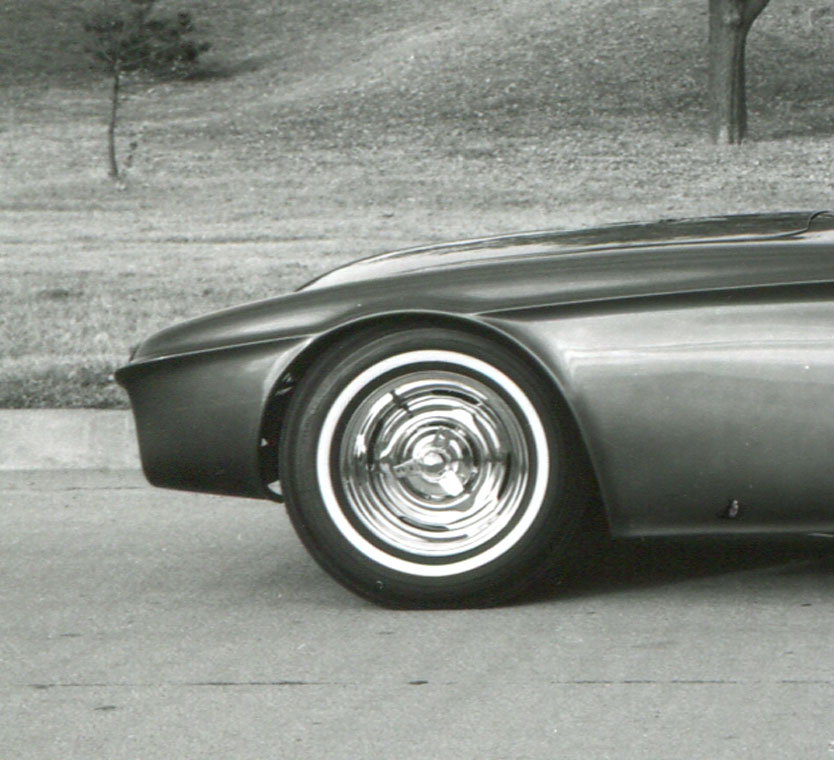
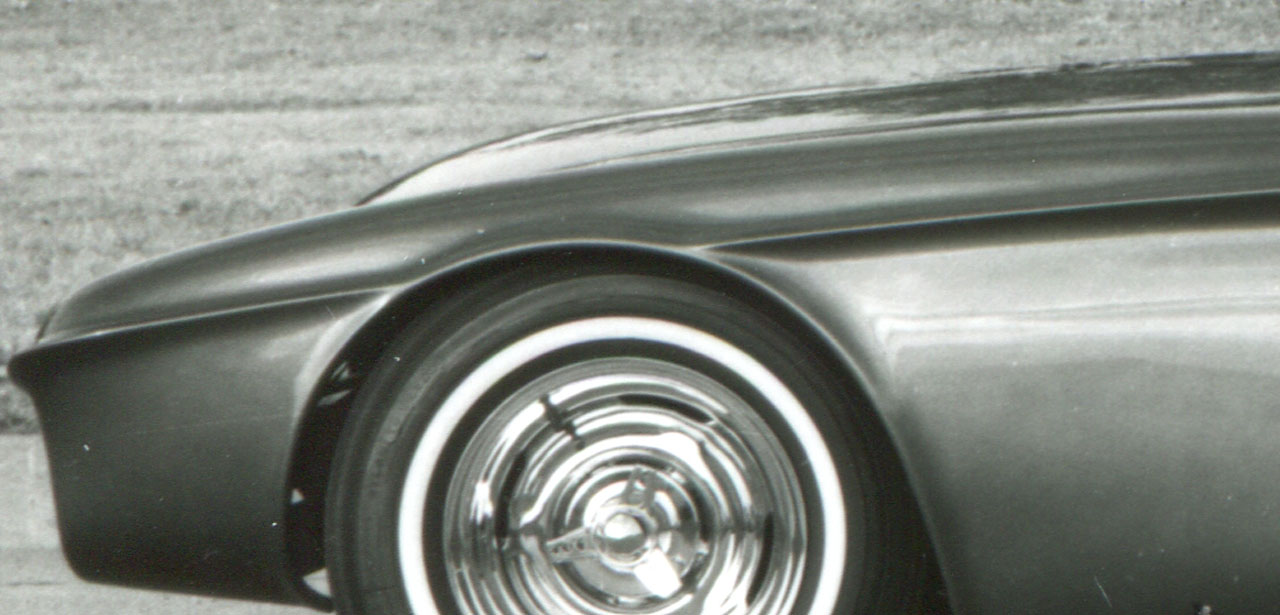
Front Fender:
Front Clip (profile)/Headlight and Grille:

The hood is the right length, but it is mounted too far rearward which supports the analysis that the bubble top is also positioned too far rearward. The distance between the leading edge of the hood to the forward most part of the front fender is correspondingly too long on the kit. So, we’re going to move the hood/bubble top assembly forward to correspond to Starbird’s measurements.
The headlight pods are almost exactly correct with only .006 marking the difference in the scale measurement. However, the distance between the inside of the headlight pods is off by 2.30″ full size suggesting that the front grille shell is too narrow. We’ll widen it a bit and then cut wider grille bars.